2D viewing, object details, and cross-probing
Android: Opaque active is at the top of Layers, unchecked by default. Enabling it makes visible active-layer content opaque (copper planes use 100%); disabling it restores ordinary opacity, without extra dimming on other layers. Text controls visibility and authored PCB text opacity (default 15%, independent of generated labels); PNG/PDF follow the same setting. Generated net names and pin numbers remain visible at every zoom, without a size cutoff or fade. Copper columns adapt to panel width and layer names stay on one line. The wide floating toolbar hides Inspect, which remains available in the dock; tabs follow the iOS grouped style with a tinted selected item and no individual outlines. Silkscreen fills follow Text opacity and schematic text stays visible when zoomed out. Project appears only for project documents.
Android panels: Temporary and lower panels share outer margins. Tap a temporary panel’s title or chevron to fold or unfold it. Info keeps short values beside their labels and wraps long values at full width. Opacity sliders use thin tracks and small circular thumbs.
Android: Visibility and floating-toolbar menus share the same app controls. Confirmation buttons use equal-width vertical rows; long labels wrap without clipping.
Supported platforms
Apple builds: macOS 14+, iOS / iPadOS 17+. Screenshots in this page are from macOS. Narrow-shell screenshots show window layout, not an iPhone device.
Intended audience
Users who need to locate issues in a PCB or schematic.
Prerequisites
Open a document and wait until the canvas is ready.
Steps
- Use the 2D canvas to zoom, pan, and pick objects.
- Reset framing with toolbar Fit All, available in More while an object is selected. Configure axes in Settings → Canvas → Display → Show Axis.
- Pick an object to reveal Info and applicable editing actions.
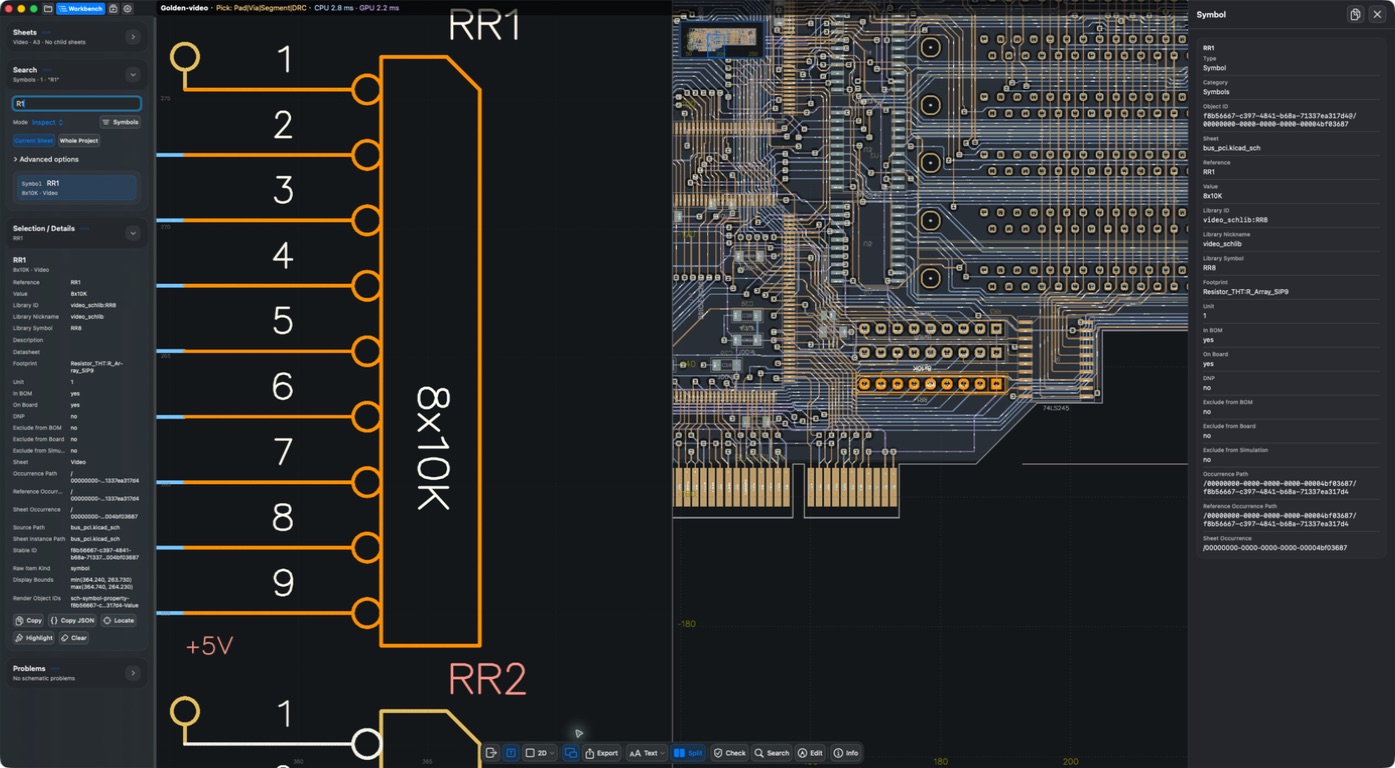
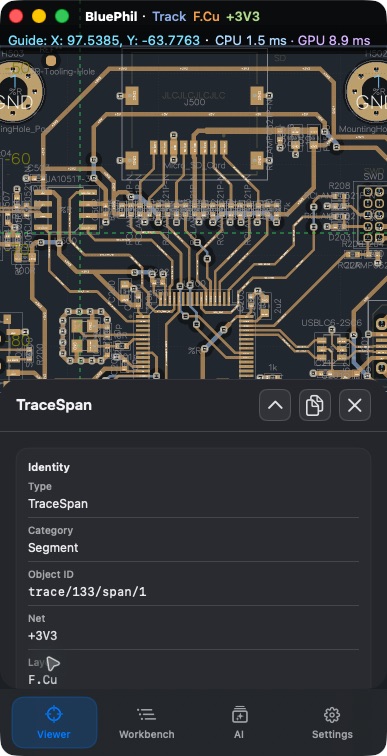
- Open Info to inspect type, net, layer, or schematic properties; double-click its body to copy all details and click Info again to collapse it.
- If picking fails, open Inspect → Selection & Focus and check type filters and Pick Candidates. Visibility and selectable types are independent controls.
Where details appear in wide and narrow shells
Info appears on the right in wide layouts and above the canvas in narrow layouts. Expand, collapse, or close it; copy by double-clicking the body rather than using a separate copy button. With no object selected, Info shows board, document, revision, and diagnostic information. The historical screenshots below may show different panel positions.
Mini view and status bar
Use More → Show Mini Viewer to show or hide the mini view; it starts enabled. Limited space or an open Info panel may hide it temporarily; its saved toggle state still applies when space returns.
The status bar shows the document, navigation-guide coordinates, and selection. Settings → Canvas → Status Bar controls coordinate precision (0–6 digits, default 1), CPU/GPU, and memory information. These describe current activity, not a general performance benchmark.
More also provides button labels, Refresh Thumbnail, Scene Info, Export, and the schematic Reading layout and Highlight overlapping text options. Scene Info can read or apply compatible camera text; confirm the same design and revision before sharing it.
Display and text
Inspect → Display → Layers controls layer visibility, colors and the active layer; the copper grid contains Pours, Tracks, Vias and Pads. Objects controls categories and opacity. Zones controls copper fills and outlines together. The duplicate Filled Shapes control and its extra opacity multiplier have been removed; ordinary graphic fills such as arrows remain under Text. Legacy Filled Shapes settings are validated and discarded when read, preserving Zones settings.
Apple / Android: Opaque active is off by default and makes visible active-layer content fully opaque, including copper zones. Objects uses a 5%–100% range: Tracks defaults to 80%, Text/Zones to 15%, and the other opacity controls to 100%. Valid saved values are retained and clamped to this range. Dragging shows the current percentage above the slider. Colors supply RGB only; source, layer and preset alpha do not multiply object opacity. Text controls authored PCB text and ordinary graphic fills; generated labels and schematic text keep their independent rules.
Apple: Authored PCB text follows layer order with geometry, followed by drill masks. Generated labels hide below 6 logical pixels and appear directly at 6, without zoom fading; Retina screens use the same logical threshold. Selected or highlighted labels bypass small-text hiding; locked shadows do not. Schematic text keeps its existing rendering rules.
Schematic text always scales naturally with the canvas, without screen-size hiding or fading. The “show all text at every zoom” switch has been removed.
PCB and schematic linkage
- Open a KiCad project that contains both PCB and schematic.
- In Project, choose the target sheet; in schematic Inspect → Search, enter a reference, then choose a result.
- Precisely related symbols / pins locate and highlight the PCB footprint / pad. In this hands-on pass, searching
R1and choosingRR1located the part on both canvases. - Use Split to switch between single and dual canvases. Dual canvases in a tall, narrow window can stack vertically; a wide window can place them side by side.
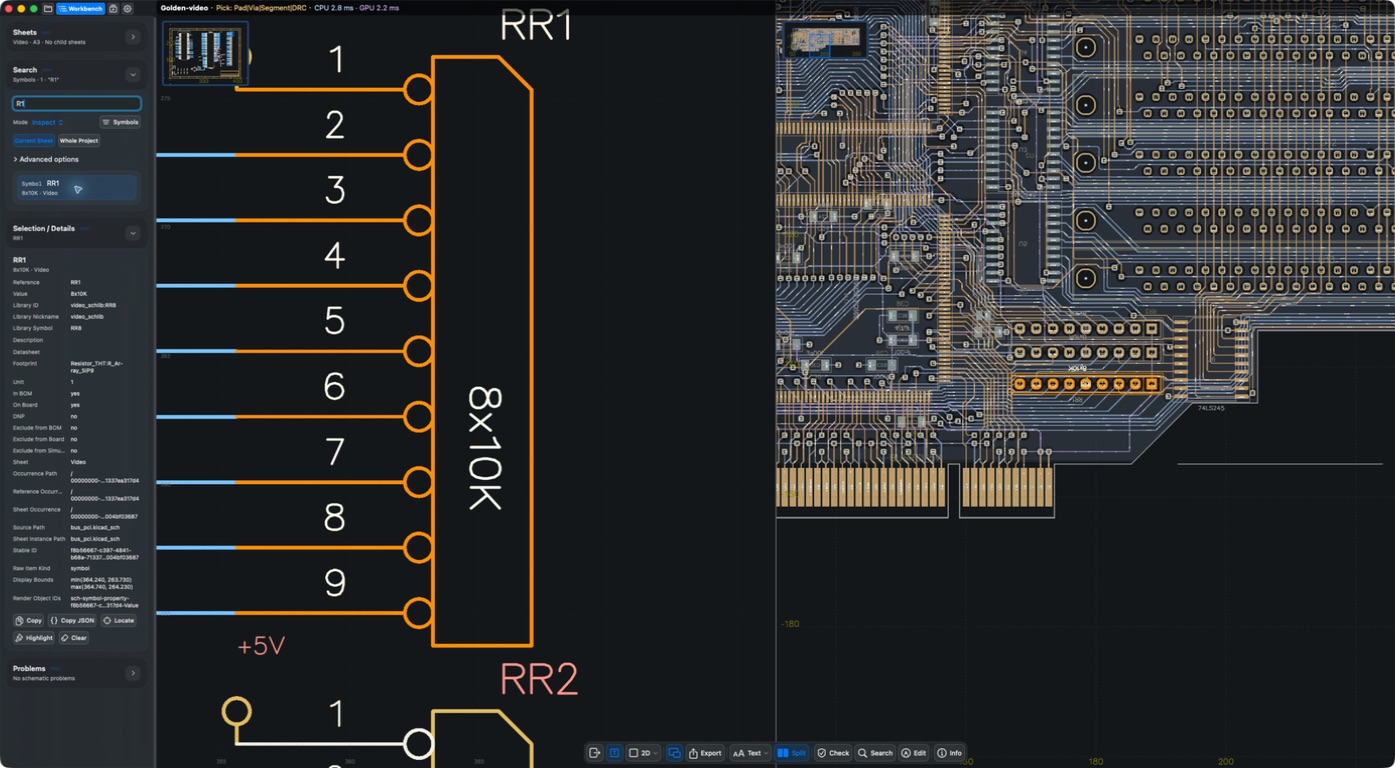
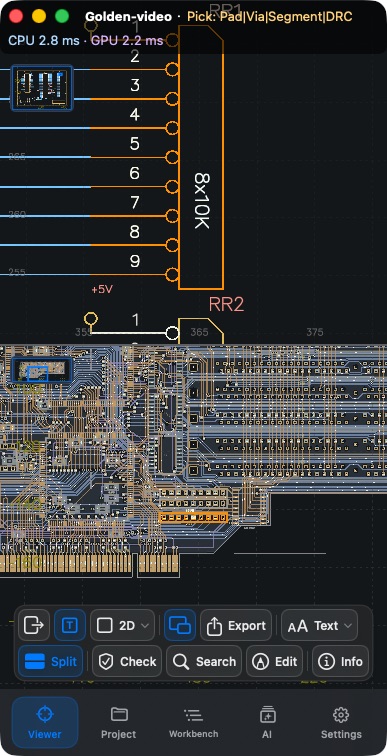
Cross-probing depends on precise relationships in the project. Objects with no board entity, missing links, or ambiguous relationships are not guessed by name. Net linkage also does not mean that clicking any PCB track automatically jumps to a schematic label of the same name.
Result
You can identify the current object, read its details, and check PCB against schematic in a project with precise links.
FAQ
Why did framing change after the window became narrower?
The available canvas size changed. Keeping the camera is not the same as keeping the previous screenshot bounds. Use Fit All again when you need an overall view.
Why are there no edit buttons?
Buttons change with the object and editing capability. Readable details do not mean the object is editable. See Basic editing.
Last verified
2026-09-11: hands-on on the macOS 1.1.2 local build; other platforms were not retested on device in this pass.
2026-10-13: instructions and translations checked against current source; historical screenshots retain their capture dates. This documentation review is not new physical-device or store-purchase acceptance.